How to Use a Planner
A planner is a great tool for keeping your life organized and increasing your productivity, but if you’re new to the planner life, you’re probably wondering exactly how to use a planner. Your new planner may look a little overwhelming right now, and that’s okay. The good thing is that your planner is actually very easy to use once you know what you’re supposed to do with it. Here are the steps for how to use a planner properly so you can have a full year of organization, productivity, and peace.
Step 1: Fill Out the Opening Sections
Depending on which planner you chose, there might be some goal setting, important date planning, or even just useful information sections at the very beginning of the planner. The first thing you have to do is fill those out (if you want to). If your planner has goal-setting pages, then sit down and think about what you want to achieve and how you can achieve it. Write all of that stuff down in the space provided.
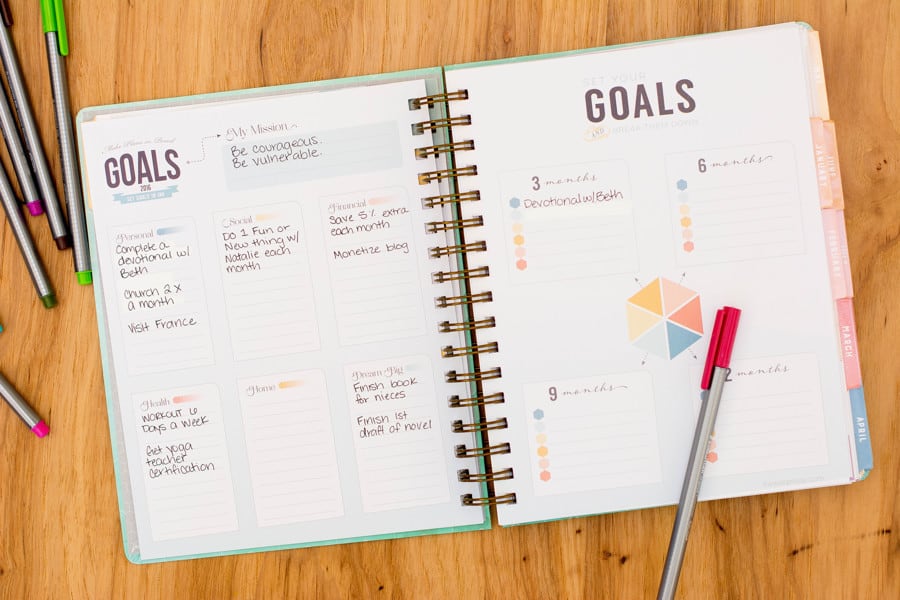
InkWELL Press LiveWELL Planner
If your planner has a section for important dates in the year to come, fill those in too. This is a great place to see your months from the yearly view and see exactly which months are going to be the busiest for you. This is helpful for planning trips and setting deadlines for work and yourself.
Step 2: Move the Important Dates and Deadlines to the Rest of the Planner
After you’ve set your goals, written down the important dates, and established deadlines, you need to write those down in the correlating days in the monthly calendars. That way you already have those dates to reference and plan around throughout the rest of the year without flipping back to the very start of your planner.
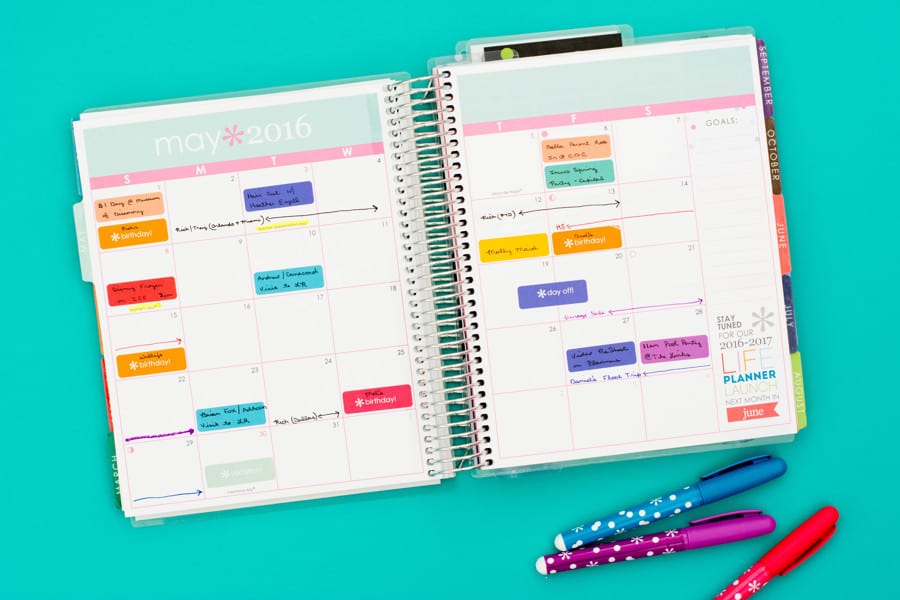
Erin Condren Life Planner
You can also write those items down in the specific days in your planner, if you feel comfortable doing that. It depends on what kind of planner you have (dated/undated, daily/weekly/monthly, formatted/blank), and how you feel about writing that stuff down so far in advance. The safest thing to do is write those dates down in your monthly calendars and wait to fill in the individual days until you get closer to the day.
Step 3: Decide on a System
Don’t let the word “system” frighten you. It’s really just a formal way of saying you need to decide if you want to color code your planner, use stickers, and what extra purposes you want to use your planner for (like meal and exercise tracking). A system is important because it adds extra organization and clarity to your planner, especially if the planner you chose is one with a lot of open space for you to interpret. For example, if you have a weekly planner with blank columns for each day, then you need to decide if you want to put the schedule at the top and bottom each day or if you just want each column to be for to-dos.
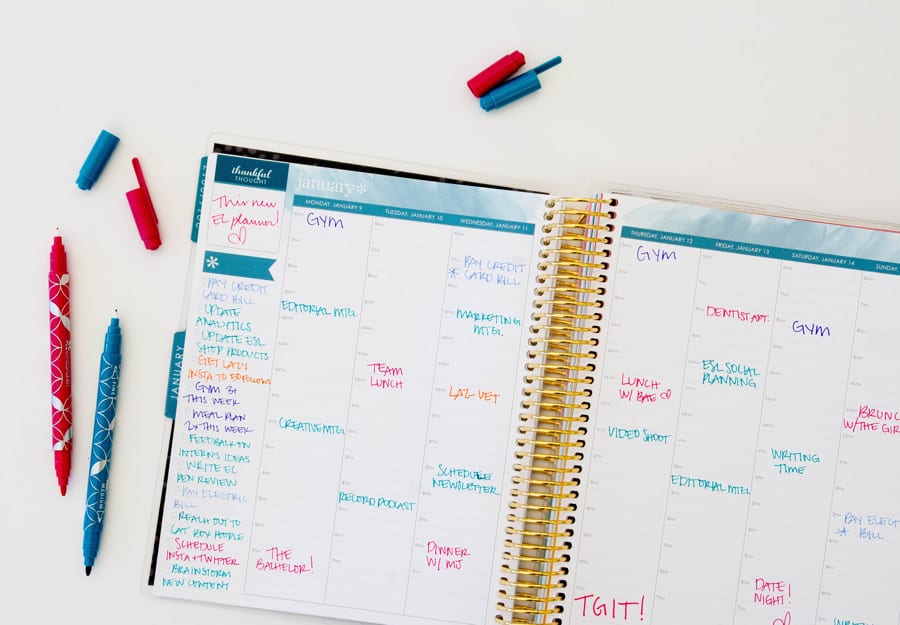
Erin Condren Life Planner
If you think you might like to try color coding, then you can check out a breakdown of that process here and try it out for yourself. Color coding is an excellent way to keep an eye on all of the various things in life, from your kids’ schedules to your work projects. Stickers can serve a similar purpose — or they can just be a fun way for you to de-stress and be creative, if that’s more of what you’re looking for. If you think you might want to use your planner to track other things, then you also need to spend some time thinking about what those things are and how you want to track them. Then you have to evaluate how you would do that in your planner (i.e. check boxes, etc.).
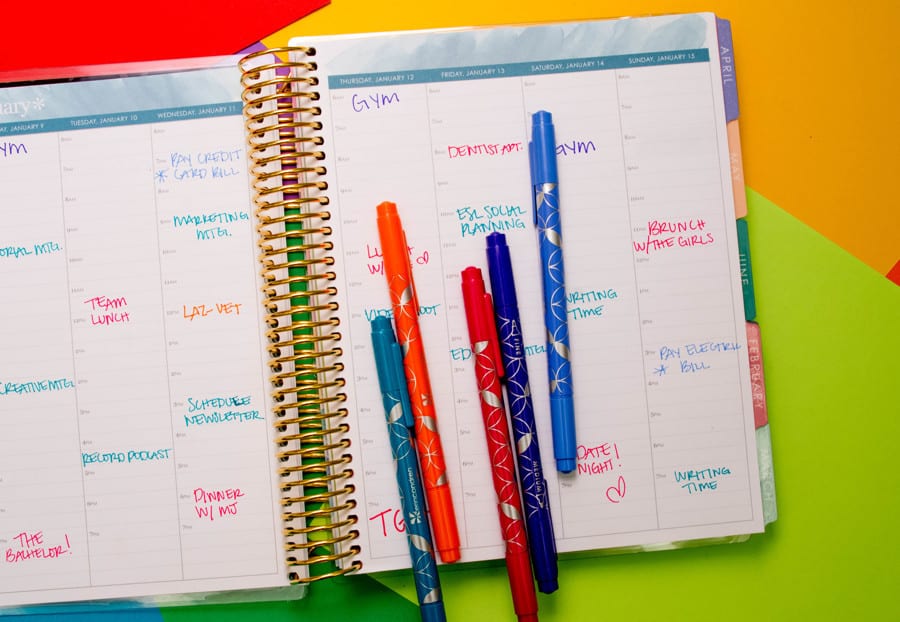
Step 4: Fill Out Your First Week
Whether you have a daily or a weekly planner, the next step is to fill out your schedule and to-do list for each day of the week. First, write down all of your meetings, appointments, and plans for every day. After you’ve done that, you can write down your tasks for the week or for each day (depending on if you have a daily or weekly planner).
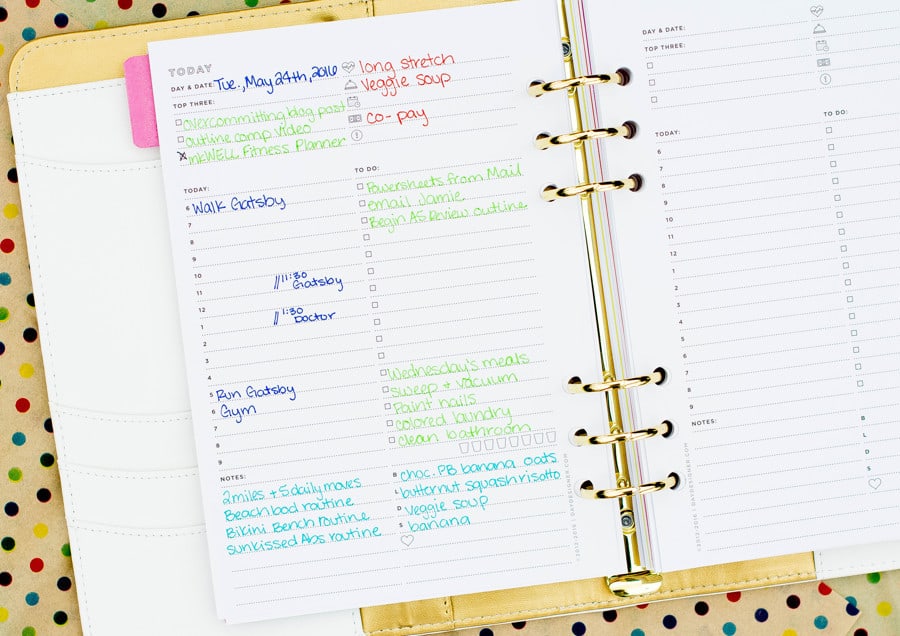
Day Designer A5 Daily Planner
When you write down your tasks, make sure you aren’t trying to do too much on a day when you’re swamped with places to be. Instead, aim to do two to three large things on those days and then put your other important tasks on a day when you’ll have more time to complete them.
The final thing to fill in on your days and weeks are important day-long events, like birthdays and holidays, and miscellaneous deadlines (like bills). Once you’ve got all of that, you’re all set for a productive week.
Step 5: Evaluate and Refine Your System
After you’ve been using your planner for a few weeks, take some time to evaluate how it’s working for you. Do you feel like you’re getting the assistance you need from it? Are you more productive and organized? Or is there still something lacking? Pinpoint any failings with the system you’ve created and then determine what you can change to solve it. Then implement those changes for a few weeks to see if that helps. If not, then it’s time to re-evaluate and refine your system further.
Remember that like all things, when it comes to how to use a planner, there’s no wrong or right way. What works for someone else might not work for you, and vice-versa. It may take a lot of trial and error to find a planner and planner system that works for you.
Last modified on January 15th, 2019


Show Comments +