How to Color Code Your Planner
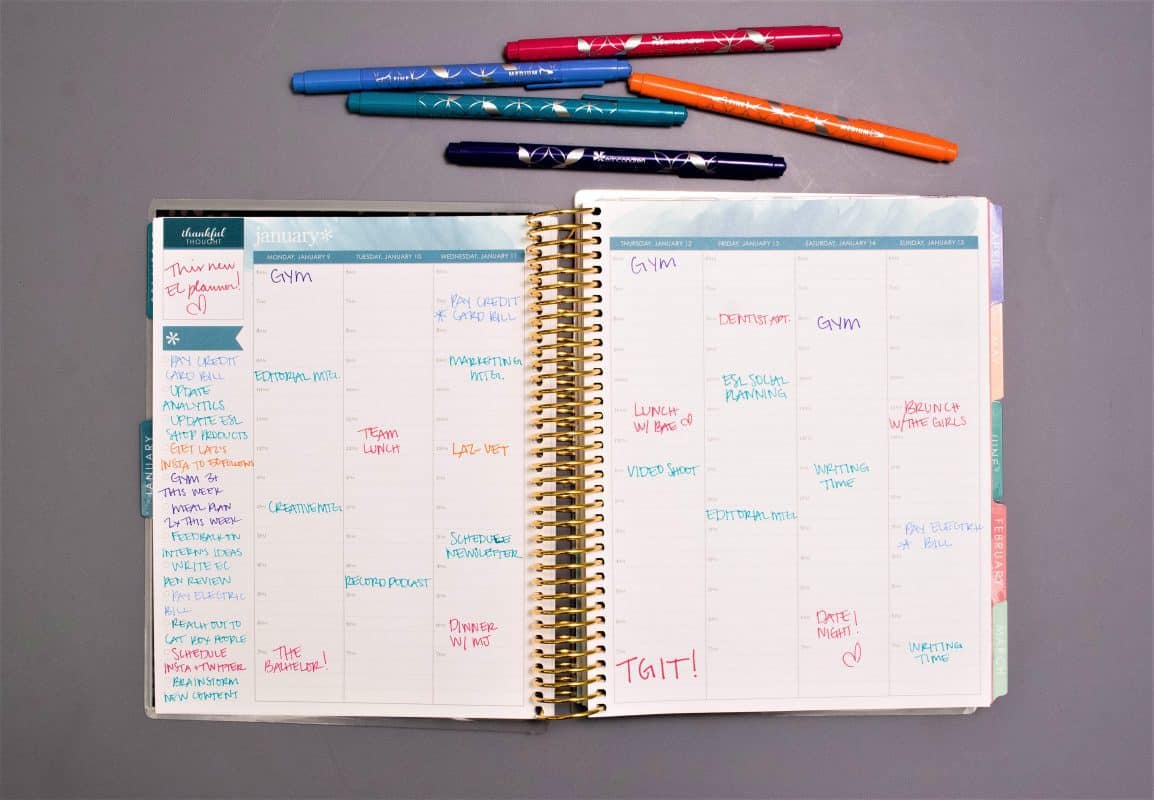
There’s nothing more beneficial for dissipating chaos and anxiety than color coding your planner. It’s not only a therapeutic practice, it also provides the visual organization and clarity that you simply can’t get from a plain black pen. If you’re unsure of how to color code your planner, follow these steps for a simple and easy-to-personalize system.
Step 1: Determine Your Color Coding Categories
The first step to set yourself up for success with color coding is to identify the various categories or sections of your life. Some possible categories are work, family, school, health, side hustle, finances, errands, and chores (among many others). The number of categories will vary according to your needs and schedule at the current moment and are likely to change during different months and years of your life.
Don’t feel like you need to have a large number of categories. Instead, focus on the most important things to you so you can make them stand out. If you end up with only three color coding categories (like work, family, and finances) and choose to put everything else in a black pen, then no problem. It’s best to start with less and build up to more if you need to than to start big and then become overwhelmed.
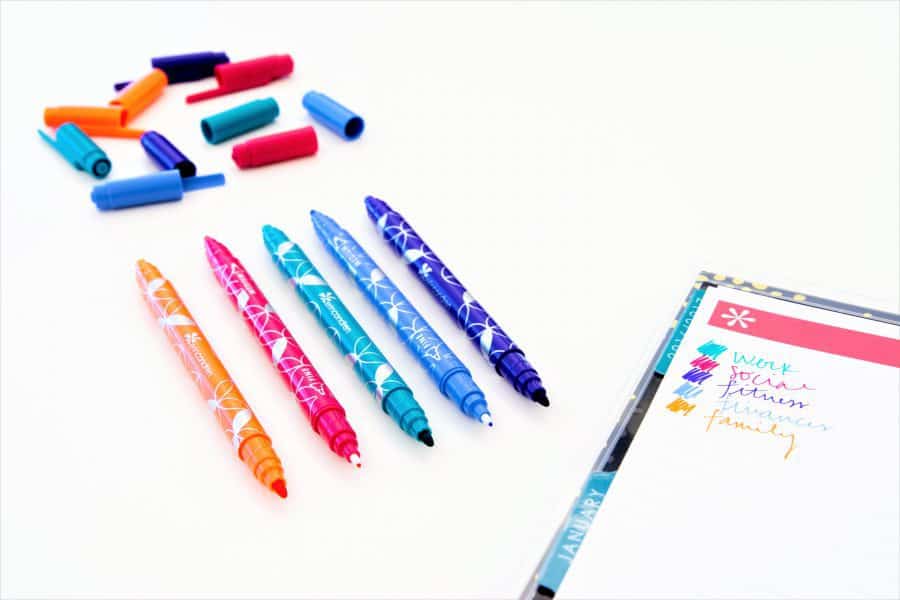
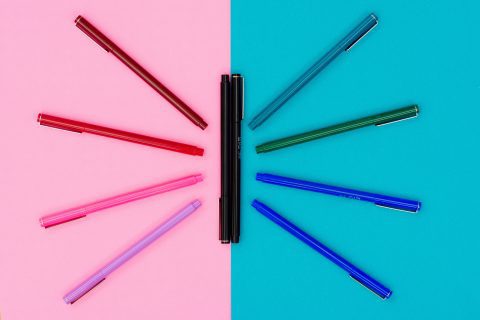
Step 2: Choose Your Color Coding Pens
If you care about how to color code your planner, then you likely also care about the type of pens you use. Color coding is a bit of a commitment, so you want to like the pens you write with, both in terms of how they write and the ink color. Consider what you want from a pen: Ballpoint or felt-tipped? Thick or thin? Lots of colors or just a few? After you’ve chosen your pens, you can move on to the fun stuff.
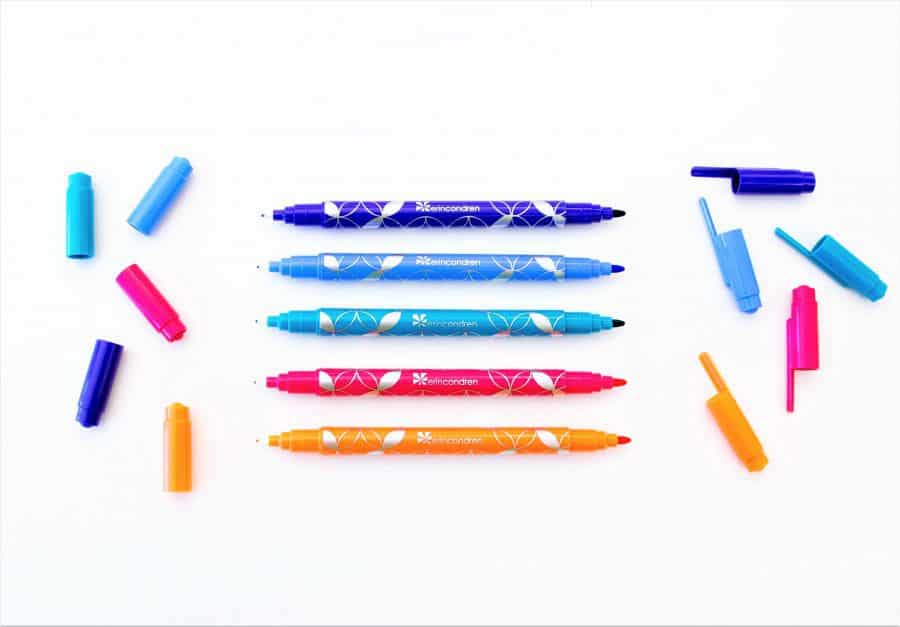
Editor’s Pick: Erin Condren Colorful Dual-Tip Markers
Step 3: Assign Colors to Categories
When you start assigning the colors to your categories, you can either assign them randomly or use a color coding system. Some people choose to assign colors that are more likely to grab their attention (like red and green) to the most important categories. You can also assign colors because they evoke a certain emotion in you, like excitement for your health category. There’s no right or wrong way to assign colors — just do what feels right to you. If you end up not liking the way you’ve assigned colors, you can always change it later.
Step 4: Test It Out
Before you’ve put (colored) pens to paper, do a test run with your color coding system. In this scenario, a test run is meant to give you an idea of what your planner will look like once color coded on a regular basis.
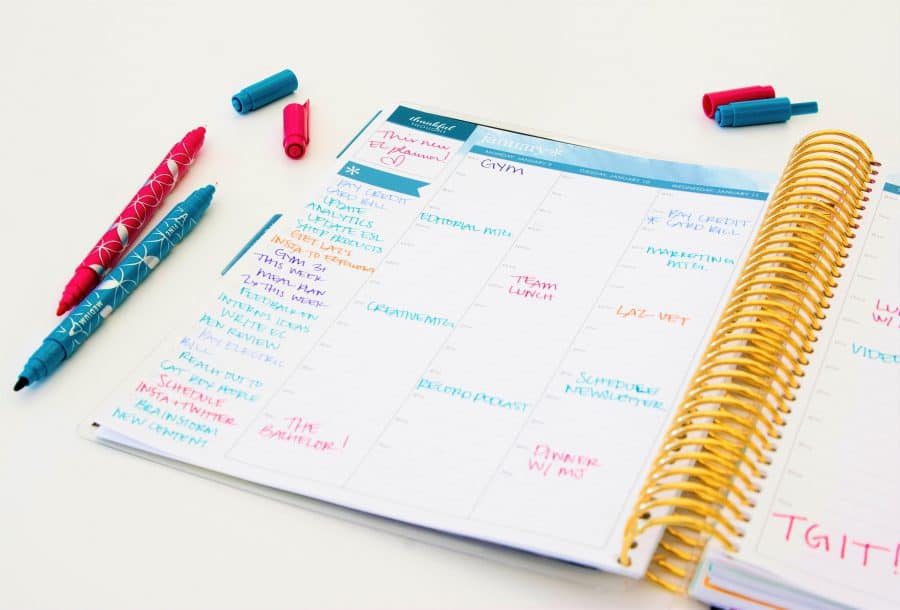
If you can spare a page out of your planner to test with, then go ahead and try out your color coding system. Otherwise, you can simply use a loose sheet of paper and roughly draw out what your planner looks like, and then fill in what you think a typical day or week might look like for your categories. If you don’t like the colors or feel like something else is off about the categories, then head back to step one and start over.
The most important thing to remember with color coding is that it’s meant to make your life easier, streamline your daily routines, and help you think more clearly. If color coding becomes too stressful or difficult at any point, don’t be afraid to rework your process or abandon it entirely. Color coding should serve you, not overwhelm you.
Last modified on April 2nd, 2020


Show Comments +